In this smoked turkey recipe, I will show you how to speed up the process of smoking a turkey by butterflying it, commonly called “spatchcocking the turkey”.
This opens up the turkey allowing it to cook a lot more evenly, makes it easier to carve and often helps the skin to get more crispy especially if you are able to cook it a little hotter than normal smoking temperatures.
The herbed butter along with my Texas rub seasons this baby to perfection and your Thanksgiving is sure to be a huge success!
Have a blessed week and enjoy the recipe!
What Does it Mean to Spatchcock a Turkey?
This is an old word that just means to butterfly the turkey by cutting out the backbone and laying it open. This allows it to cook faster and more evenly. This also allows you to cook a much larger bird in the smoker safely.
When you are smoking a turkey at low smoker temperatures such as 225-240°F it is not recommended to use a turkey that is larger than 12 lbs due to the fact that it will stay in the danger zone of 40 to 140°F for too long.
By laying it open, this allows even a large bird to cook much safer since the heat can get to all sides and cook it much faster.
Remove giblets, neck, pop-up timer and any plastic or hardware that is holding the legs together.
Place the turkey on your cutting board with the backbone facing up and neck end toward you.
Using a pair of heavy duty kitchen shears, cut along both sides of the backbone to completely remove it from the turkey.
Turn the turkey breast side up and press down with both hands to flatten it.
Step 2: Brine Overnight
Make a simple turkey brine using 1 gallon of cold water, 1 cup of coarse kosher salt and ¾ cup of dark brown sugar. (the sugar is optional but I think it adds a lot to the brine).
Pour the salt into the water and stir until it becomes clear again. Add the sugar and stir until it dissolves.
Place the turkey in a plastic, glass or stainless steel container and pour the brine over the bird to cover.
Please note: Depending on what container you use, you may require more than 1 gallon of brine. Just double or triple the brine recipe as required.
Place a lid or cover on the container with the bird and the brine and place it in the refrigerator overnight. If the container is too large for the fridge, you will need to ice it down and ensure that it stays at or below 39°F for food safety purposes. 8-12 hours is recommended brining time for best results.
Step 3: Rinse and Dry
When the turkey is finished brining, discard the brine and rinse the turkey really well under cold water. Sometimes this is best done outside if possible.
Dry the inside and outside of the turkey with clean paper towels.
Place the turkey in the fridge uncovered for about 2 hours to allow the skin to dry further. This helps the skin to end up with a good “bite through”.
While the drying process is occurring, make up the herb butter (recipe below)
Step 4: Make the Herbed Butter
Herb Butter
If you make this ahead of time, you can form it back into a log and wrap in plastic wrap to keep it fresh.
When ready to use, leave out on the counter for an hour or two to soften.
Step 5: Apply Herbed Butter
Split the butter into (2) parts and put half of it under the skin and half of it on the outside of the skin.
In order to get it under the skin, you will have to loosen the skin first.
Work your hands between the skin and the meat tearing the membrane loose as you go. Do this carefully and patiently and you will be able to completely loosen the skin from the breast meat and even the thighs and legs. Leave the skin attached around the edges (except for where your hand entered) to help hold in the butter and herbs.
Once the skin is loose enough, stuff some of the herbed butter in the breast area, the thighs, and the legs. Pat it down from the outside to spread it out a little more.
Apply the remaining herbed butter on the outside of the skin. If it does not want to stick, microwave it a little to make it more fluid and apply with a silicone brush. (it tends to stick to your hands better than the turkey skin).
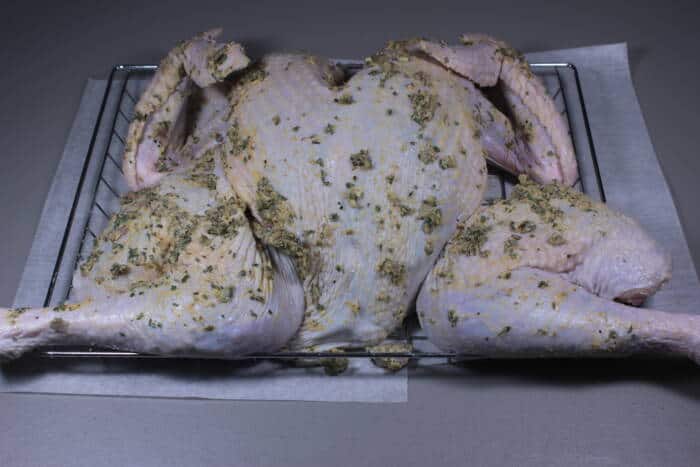
Step 6: Season with Texas Rub
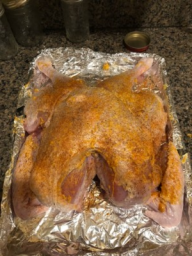
Completely coated with herbed butter, give it a good sprinkle all over with my Texas rub recipe for perfect seasoning throughout.
Don't forget both sides of the wings, thighs and legs.
Step 7: Smoke Time
Set up your smoker for cooking at about 240°F.
If your smoker has a water pan, it's a great idea to use as this helps to reduce the drying effect of the heat.
Make sure you have enough smoking wood to last for at least 2 hours.
When the smoker is preheated and ready to go, it's time to cook some turkey!
Place the turkey on a cookie sheet to carry it out to the smoker or you can use a Bradley rack and just leave it on there while it cooks.
Place the spatchcocked turkey skin side up and let it smoke cook for about 4 hours at 240°F. (this cook time is assuming an 11 to 12 lb bird)
Monitor the temperature of the breast at it's thickest part and when it reaches about 158-160 it's time to move it from the heat.
The carryover cooking will take it on up to about 163-165 and it will be incredibly juicy, tender and flavorful.
Step 8: Rest and Serve
Quickly tent some foil over the bird and leave it for about 10-15 minutes to rest before carving.
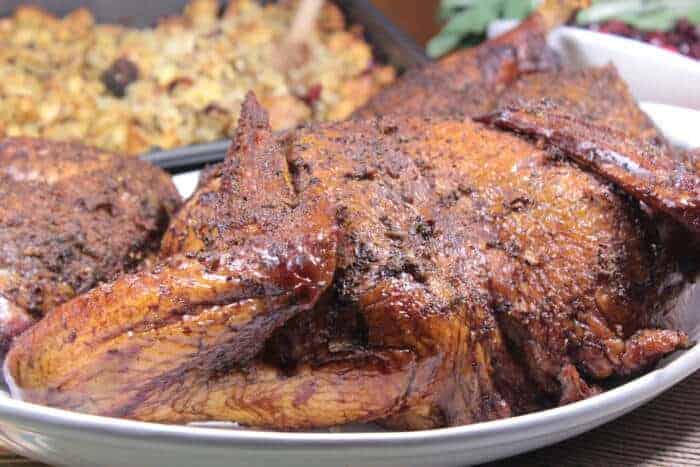
To carve, remove the leg quarters then separate the thigh from the leg. Remove the wings then remove the breast meat in one big section by cutting along the carcass as you pull back on the breast meat. Slice the breast meat into pieces and you are ready to eat.
This opens up the turkey allowing it to cook a lot more evenly, makes it easier to carve and often helps the skin to get more crispy especially if you are able to cook it a little hotter than normal smoking temperatures.
The herbed butter along with my Texas rub seasons this baby to perfection and your Thanksgiving is sure to be a huge success!
Have a blessed week and enjoy the recipe!
Helpful Information
- Preparation time: 45 minutes
- Brine time: 8-12 hours
- Cook time: 4 hours (11-12 lb bird)
- Smoker temperature: 240°F
- Meat finish temperature: 160°F
- Recommended wood: Pecan and/or Hickory
What You'll Need
- Any size turkey
- Turkey brine (recipe below)
- Herbed butter (recipe below)
- Jeff's Texas rub
What Does it Mean to Spatchcock a Turkey?
This is an old word that just means to butterfly the turkey by cutting out the backbone and laying it open. This allows it to cook faster and more evenly. This also allows you to cook a much larger bird in the smoker safely.
When you are smoking a turkey at low smoker temperatures such as 225-240°F it is not recommended to use a turkey that is larger than 12 lbs due to the fact that it will stay in the danger zone of 40 to 140°F for too long.
By laying it open, this allows even a large bird to cook much safer since the heat can get to all sides and cook it much faster.
Step 1: Spatchcock (Butterfly)
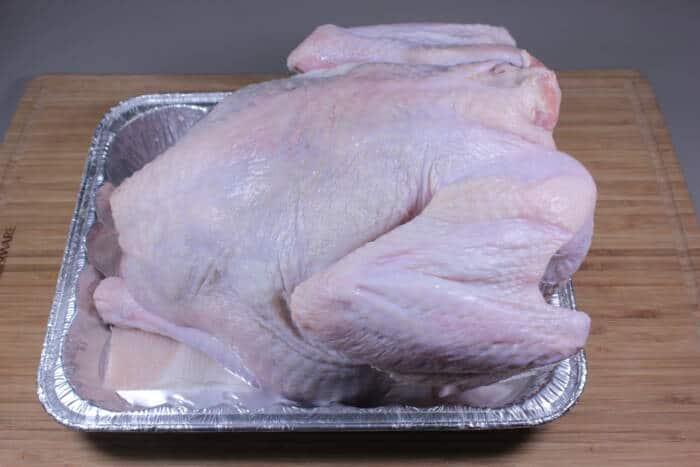
Remove the turkey from it's packaging.
Remove giblets, neck, pop-up timer and any plastic or hardware that is holding the legs together.
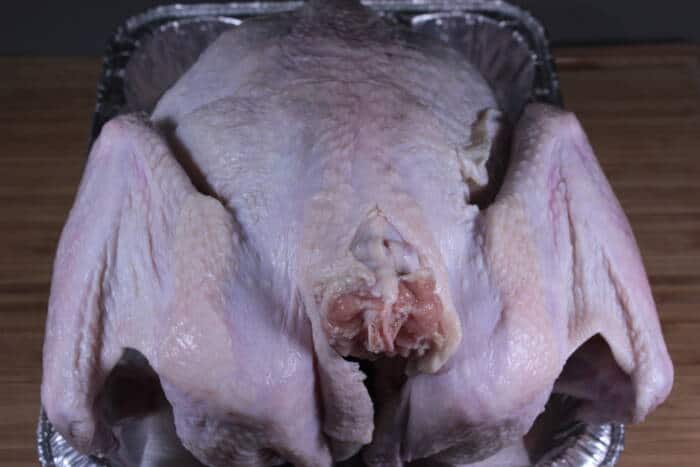
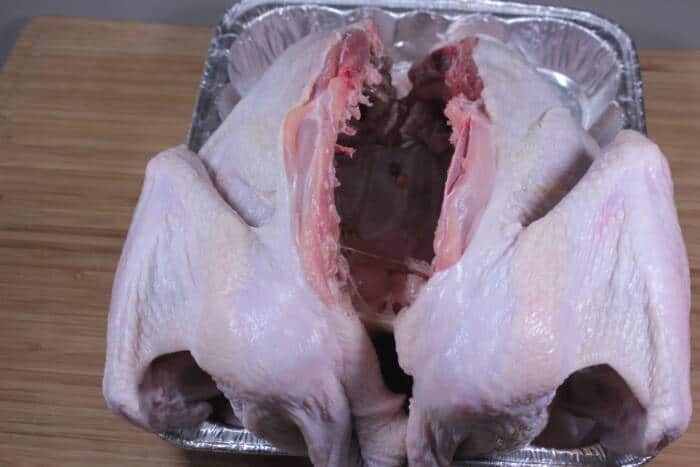
Place the turkey on your cutting board with the backbone facing up and neck end toward you.
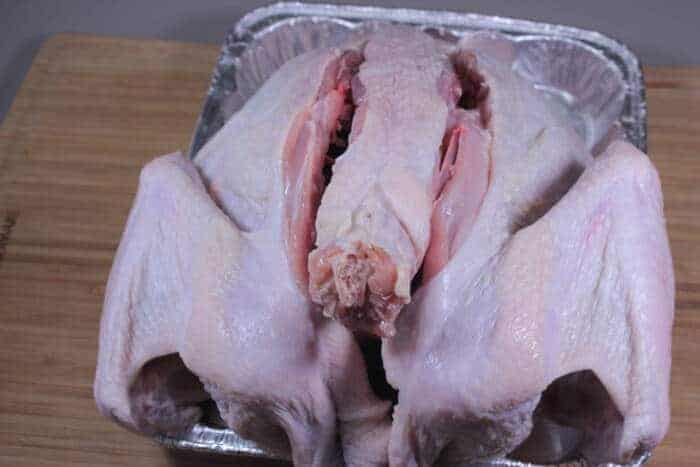
Using a pair of heavy duty kitchen shears, cut along both sides of the backbone to completely remove it from the turkey.
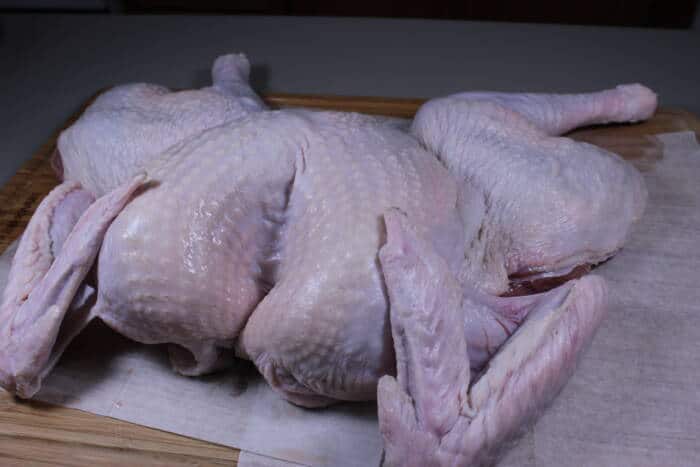
Turn the turkey breast side up and press down with both hands to flatten it.
Step 2: Brine Overnight
Make a simple turkey brine using 1 gallon of cold water, 1 cup of coarse kosher salt and ¾ cup of dark brown sugar. (the sugar is optional but I think it adds a lot to the brine).
Pour the salt into the water and stir until it becomes clear again. Add the sugar and stir until it dissolves.
Place the turkey in a plastic, glass or stainless steel container and pour the brine over the bird to cover.
Please note: Depending on what container you use, you may require more than 1 gallon of brine. Just double or triple the brine recipe as required.
Place a lid or cover on the container with the bird and the brine and place it in the refrigerator overnight. If the container is too large for the fridge, you will need to ice it down and ensure that it stays at or below 39°F for food safety purposes. 8-12 hours is recommended brining time for best results.
Step 3: Rinse and Dry
When the turkey is finished brining, discard the brine and rinse the turkey really well under cold water. Sometimes this is best done outside if possible.
Dry the inside and outside of the turkey with clean paper towels.
Place the turkey in the fridge uncovered for about 2 hours to allow the skin to dry further. This helps the skin to end up with a good “bite through”.
While the drying process is occurring, make up the herb butter (recipe below)
Step 4: Make the Herbed Butter
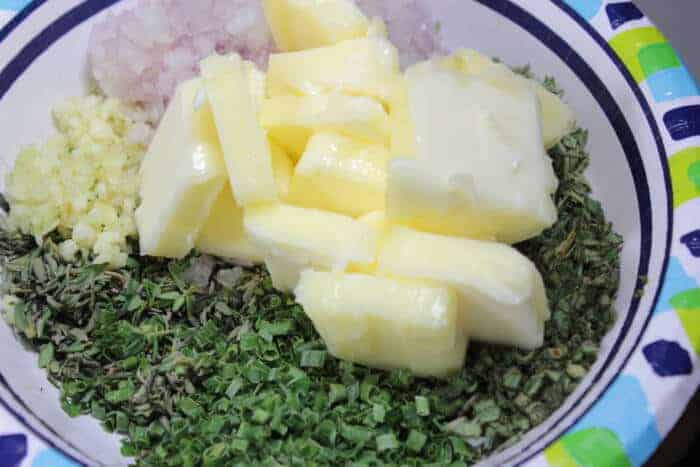
Herb Butter
- 1 stick of butter, softened at room temperature
- 1/4 cup parsley, chopped
- 1/4 cup thyme, chopped
- 1/4 cup chives, chopped
- 1/4 cup sage, chopped
- 1/4 cup onion, chopped
- 5 garlic cloves
- 2 TBS Jeff's Texas Rub
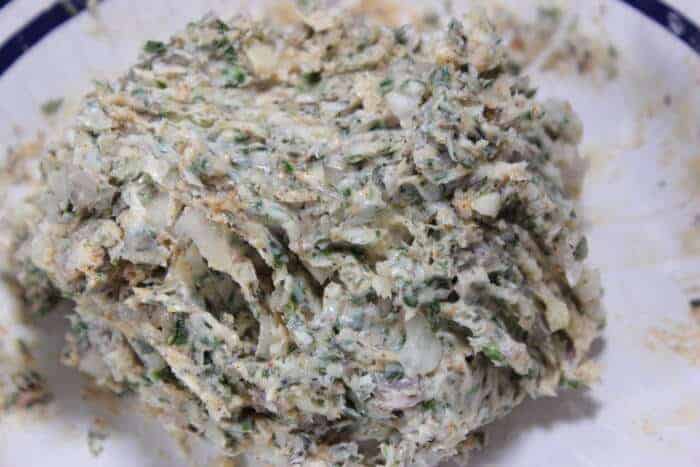
If you make this ahead of time, you can form it back into a log and wrap in plastic wrap to keep it fresh.
When ready to use, leave out on the counter for an hour or two to soften.
Step 5: Apply Herbed Butter
Split the butter into (2) parts and put half of it under the skin and half of it on the outside of the skin.
In order to get it under the skin, you will have to loosen the skin first.
Work your hands between the skin and the meat tearing the membrane loose as you go. Do this carefully and patiently and you will be able to completely loosen the skin from the breast meat and even the thighs and legs. Leave the skin attached around the edges (except for where your hand entered) to help hold in the butter and herbs.
Once the skin is loose enough, stuff some of the herbed butter in the breast area, the thighs, and the legs. Pat it down from the outside to spread it out a little more.
Apply the remaining herbed butter on the outside of the skin. If it does not want to stick, microwave it a little to make it more fluid and apply with a silicone brush. (it tends to stick to your hands better than the turkey skin).
Step 6: Season with Texas Rub
Completely coated with herbed butter, give it a good sprinkle all over with my Texas rub recipe for perfect seasoning throughout.
Don't forget both sides of the wings, thighs and legs.
Step 7: Smoke Time
Set up your smoker for cooking at about 240°F.
If your smoker has a water pan, it's a great idea to use as this helps to reduce the drying effect of the heat.
Make sure you have enough smoking wood to last for at least 2 hours.
When the smoker is preheated and ready to go, it's time to cook some turkey!
Place the turkey on a cookie sheet to carry it out to the smoker or you can use a Bradley rack and just leave it on there while it cooks.
Place the spatchcocked turkey skin side up and let it smoke cook for about 4 hours at 240°F. (this cook time is assuming an 11 to 12 lb bird)
Monitor the temperature of the breast at it's thickest part and when it reaches about 158-160 it's time to move it from the heat.
The carryover cooking will take it on up to about 163-165 and it will be incredibly juicy, tender and flavorful.
Step 8: Rest and Serve
Quickly tent some foil over the bird and leave it for about 10-15 minutes to rest before carving.
To carve, remove the leg quarters then separate the thigh from the leg. Remove the wings then remove the breast meat in one big section by cutting along the carcass as you pull back on the breast meat. Slice the breast meat into pieces and you are ready to eat.